Introduction
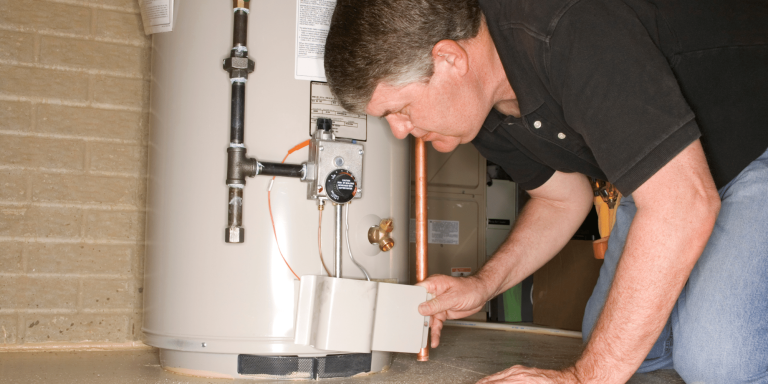
Draining your Rheem tankless water heater is a critical maintenance step that helps prevent mineral buildup, improve heating efficiency, and extend system lifespan. If you’ve noticed reduced water flow, temperature fluctuations, or strange noises, sediment could be the cause.
In this guide, you’ll learn how to safely drain and flush your Rheem tankless water heater and how often to perform this essential maintenance task.
What You’ll Need
Before you begin, make sure you have these things and tools ready:
- A garden hose (long enough to reach a drain or outside area)
- A bucket or container (for collecting flushed water)
- Gloves to protect your hands
- White vinegar (for descaling, if needed)
Safety precautions:
- Turn off the unit’s power and water supply.
- Let the water heater cool down before starting.
For more comprehensive safety advice, read our blog on hot water heater safety for a secure home.
Step-by-Step Guide to Draining Your Rheem Water Heater
Follow these steps to drain your Rheem water heater:

Step 1: Turn off the Power Supply
For safety, switch off the power supply to your water heater. This step is crucial to avoid any accidents while working on the unit.
Step 2: Turn off the Water Supply
Find the water inlet valve where water comes into the heater, and turn it off. This step ensures no new water enters the tank during the draining process.
Step 3: Locate Service Valves and Drain Ports
Find the drain valve at the bottom of the water heater. It often looks like a hose tap or a faucet.
Step 4: Connect a Hose
Connect one end of your garden hose to the drain valve and put the other end somewhere it can safely let the water flow out, like a floor drain or outside.
Step 5: Open a Hot Water Faucet
Turn on a hot water faucet inside your house to allow air into the tank and help the water flow out easily. It stops a vacuum from happening.
Step 6: Drain the Tank
Open the drain valve slowly. Hot water mixed with sediment will start coming out through the hose. Be careful because the water can be boiling. Let all the water in the tank flow out ultimately.
Step 7: Flush Out Sediments
Once the tank is empty, close the drain valve and turn on the water supply. Allow the water to flow for a few minutes to clear any remaining debris. Lastly, close the faucet that you had previously opened.
Step 8: Restore Power and Water Flow
Open both water valves. Turn the power and/or gas supply back on. Your Rheem tankless water heater is now ready for use. If you need to relight a pilot, our guide on a step-by-step guide on how to light a Rheem water heater pilot can assist you.
How Often Should You Drain Your Rheem Water Heater
Most manufacturers, including Rheem, recommend flushing your tankless system at least once a year. However, if you have hard water or use your system heavily, flushing every six months may be ideal.
Signs you need to flush your system sooner include:
- Discolored or cloudy water
- Noticeable drop in hot water pressure
- Loud internal noises
Conclusion
As we sum up, regular maintenance is crucial to keep your Rheem water heater in top condition. Draining your water heater is a simple yet effective way to improve efficiency, prevent damage, and save money. By following our step-by-step guide, you can ensure your water heater continues to provide reliable hot water for years to come.
We hope this guide has helped drain your Rheem water heater. Check out our related articles and resources for more Rheem water heater maintenance tips. If you run into issues or prefer expert help, professional Heaters Hut can make the process easier and more reliable.


