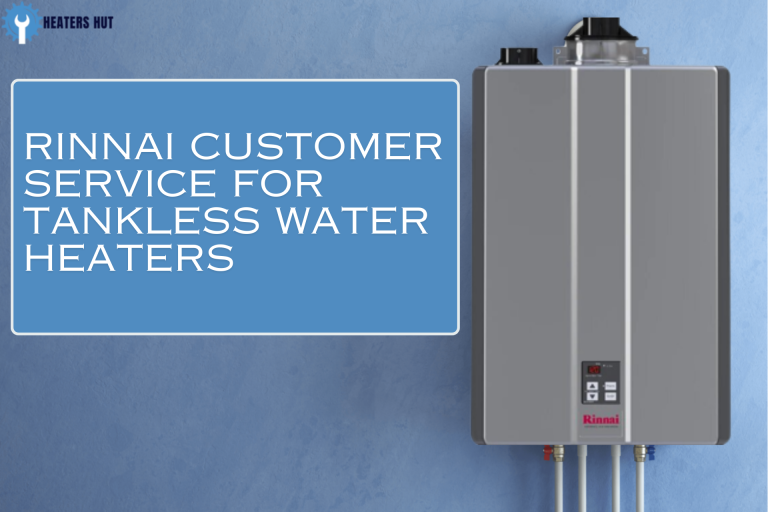
Do you want lukewarm showers and insufficient hot water from your tankless water heater? We understand the frustration! Luckily, many Rinnai water heaters can be set to make your faucet and shower water hot, which can be dangerous if not done correctly. In this guide, we’ll show you how to increase temperature on Rinnai tankless water heater hot water in six steps. Let’s begin!
Steps for Temperature Increase On Rinnai Tankless Water Heater
Let’s break down each step of adjusting or increasing the temperature on your Rinnai tankless water heater in detail:
Step 1 – Turn the Power On
Before adjusting your Rinnai tankless water heater’s temperature, ensure the power is turned on. This is essential because you’ll need electricity to access and modify the temperature settings.
Step 2 – Remove Front Panel
You’ll need to remove the front panel to access the temperature controls on your Rinnai tankless water heater. Follow these steps:
- Locate the two plastic trim pieces on each side of the water heater. These trim pieces hide the screws that secure the front panel in place.
- Carefully slide out these trim pieces to expose the screw heads.
- Remove the four screws holding the front panel using a screwdriver or an electric drill.
- Once the screws are removed, gently take off the front panel.
This step allows you to access the inner workings of the heater, including the temperature controls.
Step 3 – Press Priority Button
Some Rinnai tankless water heaters have a “priority” button. Pressing this button ensures that your hot water supply receives top priority, meaning you’ll get hotter water faster. If your heater has this button, push it to enhance the temperature adjustment process.
Step 4 – Flip Switch #6 in Dip Switch SW1 (With a Temperature Controller)
If your Rinnai tankless water heater has a temperature controller with up/down arrow buttons for adjusting the temperature, follow these steps:
- Locate the dip switches inside the heater. These are tiny switches arranged in rows connected to a circuit board.
- Find the row labeled “SW1,” which typically has tan-colored switches.
- Specifically, look for switch #6 in this row.
- Flip switch #6 to adjust the maximum temperature to 140°F (up from the default 120°F).
This step ensures that the heater will provide hotter water to your faucets and shower.
Step 4 – Flip Switch #5 in Dip Switch SW1 (Without a Temperature Controller)
For Rinnai tankless water heaters that do not have a temperature controller with arrow buttons, you’ll need to follow a similar process but with switch #5 instead of #6:
- Locate the same dip switch SW1 with tan-colored switches.
- This time, flip switch #5 to increase the maximum temperature to 140°F (from the default 120°F).
Flipping this switch, you adjust the heater to provide hot water without a dedicated temperature controller.
Step 5 – Verify Temperature Change
Once you’ve turned the dip switch to the correct setting, you have to ensure the temperature increases and you get more hot water. It depends on whether your heater has a temperature controller or not:
- If your Rinnai tankless water heater has a temperature controller, you can simply press the “up” arrow on the controller to see if you can reach a higher temperature. This confirms that your adjustment worked.
- If your heater doesn’t have a temperature controller, you can check the temperature of the hot water by opening a faucet and feeling the water. If the water temperature is increased than before, your adjustment was successful.
Step 6 – Install Front Panel
Once you’ve changed the default temperature setting and verified the change, it’s time to reassemble the front panel:
- Carefully place the front panel back in its original position.
- Reattach the four screws you removed earlier using a screwdriver or electric drill.
- Slide the two plastic trim pieces back onto the sides of the water heater to cover the screw heads.
With the front panel securely in place, your Rinnai tankless water heater will provide the hotter water you desire.
Remember that safety is crucial when adjusting water heater temperatures, especially if you have small children. Always be cautious, and follow the CDC’s recommendation to keep the temperature at 120°F or lower if you have no temperature controller. Adjusting the temperature to your needs can help you enjoy a more comfortable and efficient hot water supply.
Safety Considerations
Safety first! Always prioritize security when adjusting your Rinnai tankless water heater’s temperature, especially if you have young children. The CDC recommends keeping the temperature at 120°F or lower if there’s no temperature controller.
Troubleshooting – Not Enough Hot Water
If, after increasing the preset temperature, you find that you still don’t have hot enough water, don’t worry. You can always lower the temperature slightly to improve your hot water supply. By adjusting the temperature to suit your needs, you should avoid mixing in cold water and enjoy hot water.
But if for some reason you are still not able to change the settings then you can contact our professional workers.
Conclusion
Congratulations! You’ve successfully learned how to increase the temperature of your Rinnai tankless water heater. Now you can enjoy hotter showers and more comfortable tap water. You can also check for the setting mannual on the Rinnai’s website if you have a different modle with different settings.
Just remember always to prioritize safety, especially if you have young children in your home. Adjust your water heater to find the perfect balance between security and convenience, and you’ll have a cozy, warm water supply at your fingertips.


