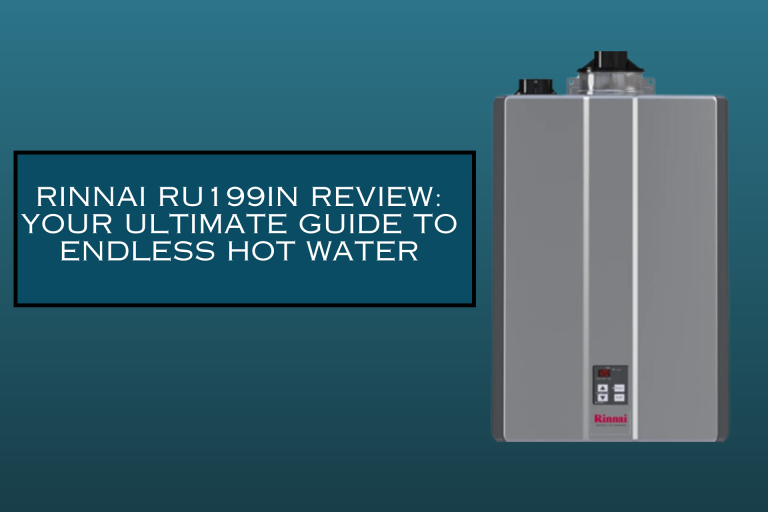
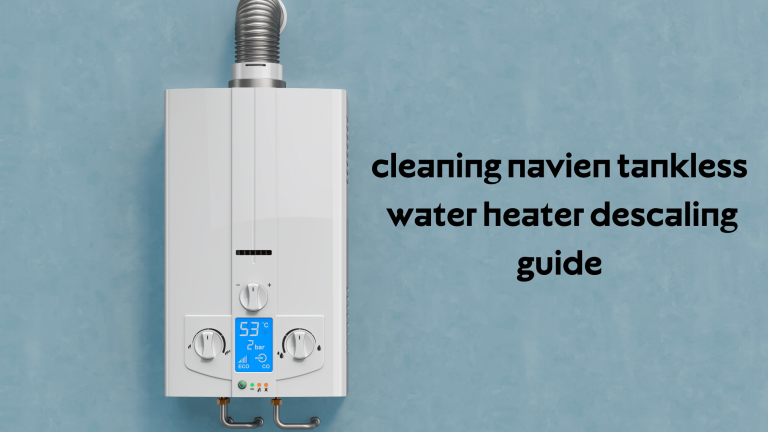
If you own a home with a Rinnai tankless water heater, you may have encountered Error Code 12. This code, which often indicates a “no flame” problem, can be a troublesome problem.
Fear not, as this blog post explains what Rinnai error code 12 means and, more importantly, how you can troubleshoot and possibly fix it. Whether you’re a DIY enthusiast or just trying to figure out when to call in the professionals, we’ve got you covered.
What is a Rinnai Error Code 12?
When you look at the control panel or remote controller of your Runai tankless water heater and see error code 12, it says, “Houston, we have a problem.” Simply put, the water heater does not detect the flame in the combustion chamber. Now, let’s get down to the details – troubleshooting!
Error Code 12 – Troubleshooting Tips
Here’s where we roll up our sleeves and get to the matter. We’ll explore various potential culprits behind Error Code 12 and provide step-by-step troubleshooting tips for each:
1. No Gas Supply or Improper Gas Pressure:
- Check all gas valves to ensure they are open.
- For propane users, verify there’s enough gas in the tank.
- Ensure the gas pressure meets the manufacturer’s specifications.
2. Incorrect Gas Type:
- Confirm that you have set up your water heater for the correct fuel type, natural gas or propane.
3. Gas Interruption or Air in the Gas Line:
- If air is in the gas line, contact a professional to clean it.
4. Flame Rod Issues and Troubleshooting:
- Inspect the flame rod for cracks or damage.
- Make sure the rod is firmly attached, and the wires are intact.
- Clean the rod and spark electrode if necessary.
5. Exhaust Gas Recirculation and Venting System Concerns:
- Proper venting and installation are crucial.
- Ensure components meet manufacturer recommendations.
- Watch out for signs of improper gas combustion.
6. Cleaning Dirty Components:
- Keep the combustion chamber, fan blade, and venting system clean.
- Consider using a shop vacuum to remove debris from the venting system.
7. Electrical Wire Issues:
- Check for proper grounding and secure, undamaged connections.
- Inspect components for electrical shorts.
8. Major Component Damages:
- In cases of severe damage, electronic boards or gas valves may need replacement.
The Importance of Professional Service
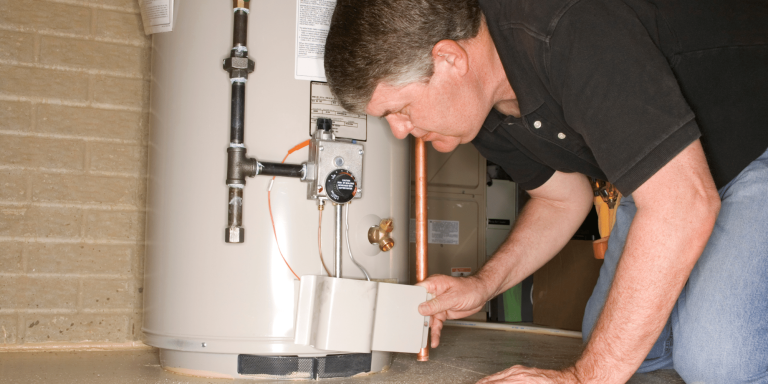
While tackling these troubleshooting steps is admirable, there are times when professional help is necessary. We emphasize the importance of hiring a qualified technician, especially when dealing with complex issues. Turn off gas, water, and electricity supply before servicing.
How to Display Diagnostic Codes
When dealing with Rinnai Error Code 12, knowing how to reveal the diagnostic codes on your Rinnai tankless water heater is crucial. This knowledge is helpful whether you want to talk to experts about the issue or want to understand what’s happening with your unit.
Here’s a step-by-step guide:
1. Turn Off the Heater:
Switch off your Rinnai tankless water heater to ensure safety during troubleshooting.
2. Press and Hold the ON/OFF Button:
Locate the ON/OFF button on your unit’s control panel. Press and hold it for a few seconds.
3. Press the UP Button Simultaneously:
While still holding down the ON/OFF button, press the UP button at one time.
4. View the Diagnostic Codes:
Check your tankless water heater’s display panel to see the Diagnostic Codes. It will show the last nine codes that represent different system functions. These codes can help you understand any problems with the unit. Be sure to write them down so you can refer to them later.
5. Exit Diagnostic Mode:
To exit the diagnostic mode, hold the ON/OFF button again for a few seconds while simultaneously pressing the UP button. This action will return your unit to its normal operating mode.
6. Resume Power:
Once you’ve exited the diagnostic mode, you can resume regular operation by pressing the ON/OFF button.
Finding and understanding these diagnostic codes will help you talk to experts more effectively if necessary. It can save time and ensure they correctly determine any problems with your tankless water heater.
Testing a Flame Rod
Testing the flame rod is crucial for those willing to take a more hands-on approach and understand deeper into the troubleshooting process. This test helps ensure the flame rod functions within the desired parameters. Here’s how you can perform this test:
1. Heater Must Be On:
Ensure your Rinnai tankless water heater is turned on and running. This test requires the unit to be actively producing hot water.
2. Use a Multimeter:
This test requires a multimeter. Set the multimeter to the appropriate setting, either volts or amps, depending on the multimeter’s capabilities.
3. Probe Placement:
Place one probe of the multimeter on the flame rod and the other on suitable ground. Make sure the examinations have secure connections.
4. Check for Readings:
Depending on the setting on your multimeter, you should observe a reading between 5 and 150 volts (when measuring volts) or 1 amp (when the multimeter is set to Amps and connected in-line).
The reading you obtain should fall within these ranges. If it doesn’t, it may indicate an issue with the flame rod, and further inspection or replacement may be necessary.
Remember, this test involves live electrical components, so proceed cautiously and ensure your safety by following proper procedures. If you’re uncomfortable with this, it’s always best to seek professional assistance.
Conclusion
Rinnai Error Code 12 may seem daunting but manageable as we wrap up. Some troubleshooting steps are DIY-friendly, while others are best for the experts. It’s essential to be careful when handling repairs, as doing them without authorization can cancel warranties and be unsafe. By understanding Error Code 12 and following these suggestions, you’ll be better prepared to properly maintain your Rinnai tankless water heater. If you need help, contact experienced plumbers specializing in Rinnai tankless water heaters. Your comfort and safety are our primary concerns.


